Several people have asked me over the years about the cleaning process, so here it is in pictures. Let me know if you have any questions! This is a self-taught process that I learned through trial and error, so there may be better ways to do some of these steps - but this is how I do it.
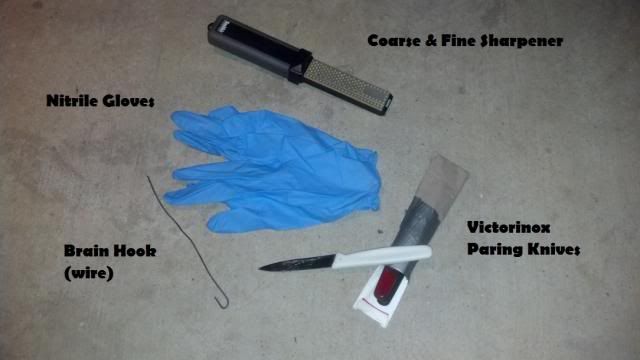
Skulls generally show up to me with the hide off (not always), but there is usually some fleshing to be done. The beetles will eat everything, including the hide, but it takes more time and makes the smell unmanageable. Fleshing includes removing any large sections of meat, the tongue, the eyes, and the brain. Here are the tools that I use:
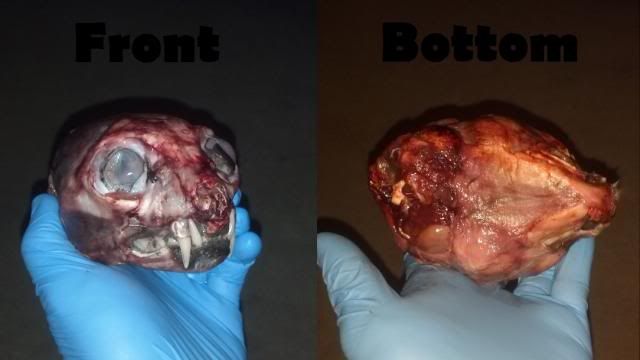
Here's a fresh bobcat skull ready to be fleshed - it's really important to make sure that the knives are sharp before starting, especially the tip of the knife as that will be used the most:
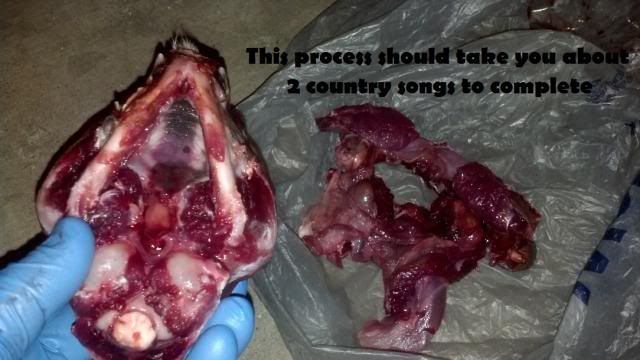
I listen to music while I clean skulls (thanks Pandora!) so a skull this size should be done in about 2 country songs or less once you get the hang of it - the more you can keep the 'meat' in one big chunk, the easier is it to get off of the skull:
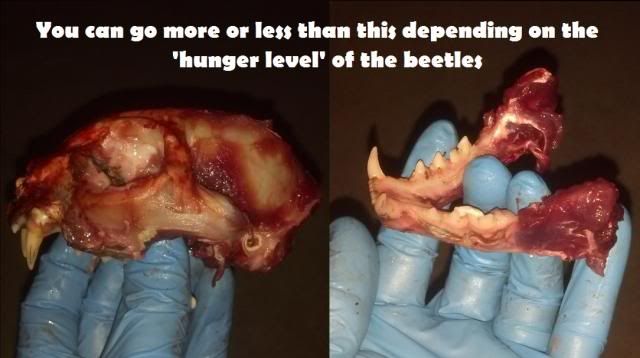
I don't always flesh down to this level, it just depends on the feeding cycle of the beetles and the size of the skull - after this I remove the brain with a brain hook made from a regular piece of wire, which for this size of skull is about another 2 country songs:
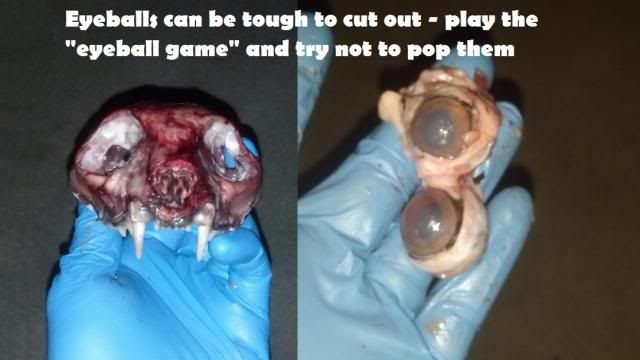
Eyeballs are surrounded by muscle so they are tough to get out until you know exactly where to cut (tip: remove the jaw and then cut the main muscle from underneath) - I like to play the "eyeball game" and try not to crush or pop them, and then they can be used as science projects for the kids!
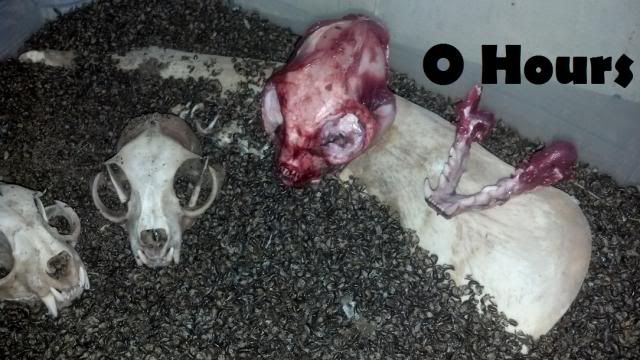
The skull is ready to be cleaned so it goes into the beetles - there are already 2 cleaned bobcat skulls in there, and the new skull is resting on a bison lower jaw that is like an amusement park for the beetles:
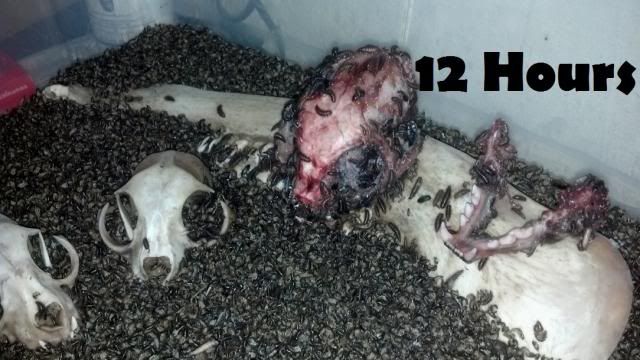
12 hours later the beetles have made a big dent in the meat - notice how much the already cleaned skulls sank down in the beetle dander from all of the movement of the beetles:
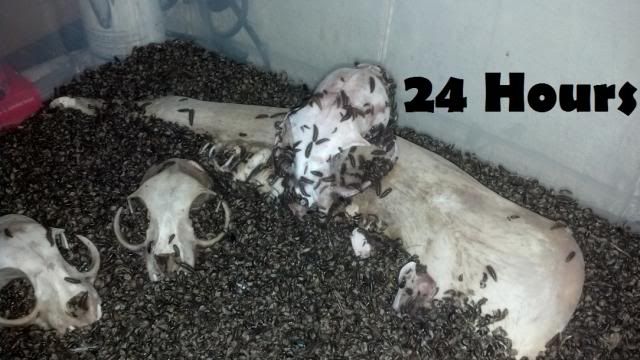
24 hours later the skull is totally clean - the beetles are so ferocious (but gentle) that the lower jaw slid down into the dander:
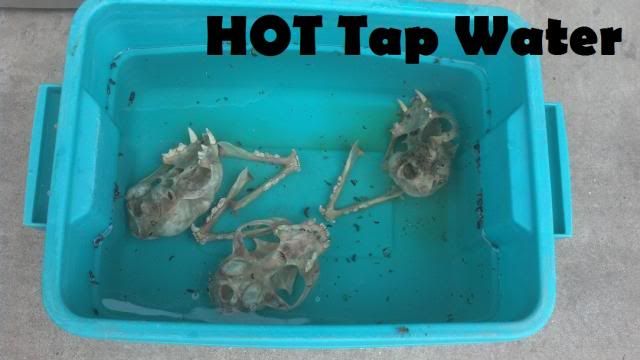
I put some fresh meat in the beetles to pull as many as possible from the skulls, then shake the rest out of and off of the skulls, and then submerge the skulls in HOT tap water - this will make sure that all of the little ones and the beetle eggs are killed so they don't pop out later:
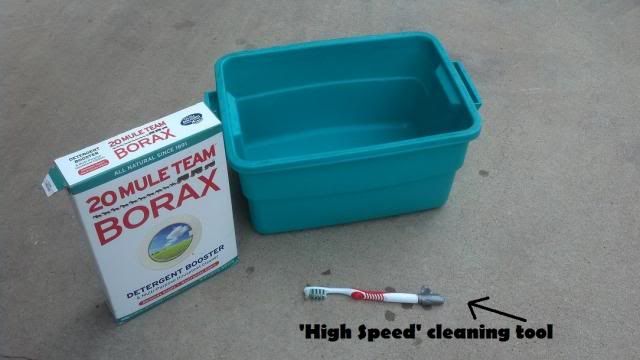
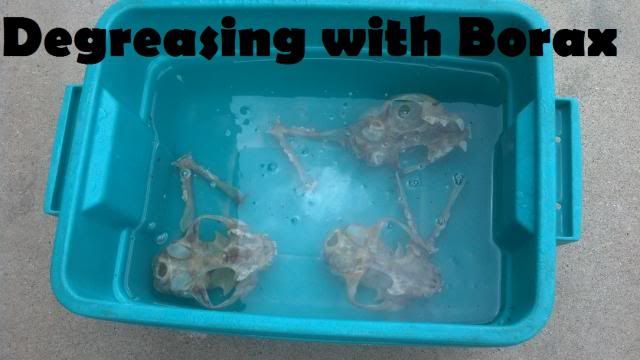
Now it's time to degrease the skulls - they are removed from the HOT water after only a few minutes and scrubbed lightly with my specialized high speed cleaning tool before being put into a mixture of Borax and water:
Here are the bobcat skulls degreasing, and they will stay in here for 3-6 days, depending on the animal - for bobcats it's only about 3 days:
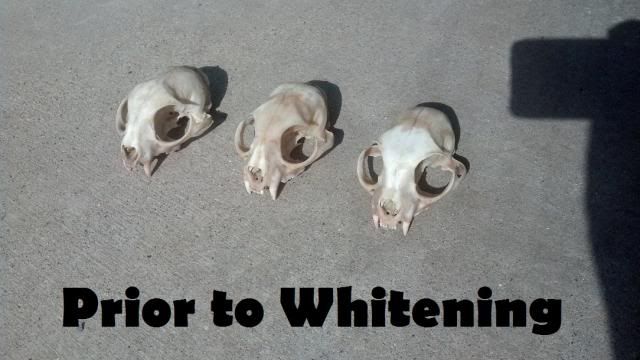
Skulls are removed from the degreasing water (which is NASTY by now) and are ready for whitening - this is what they look like at this point:
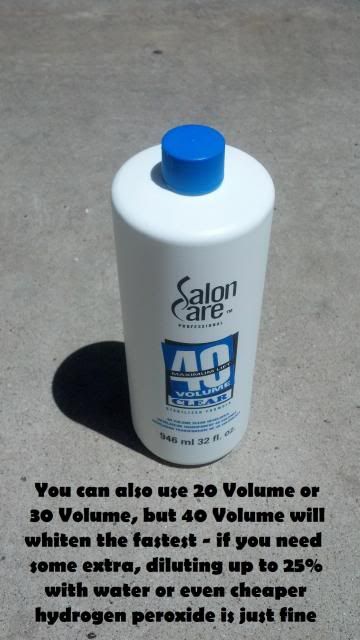
I use 40 Volume peroxide (purchased from a beauty supply store) for whitening skulls - you can use lesser Volume, but 40 works the fastest:
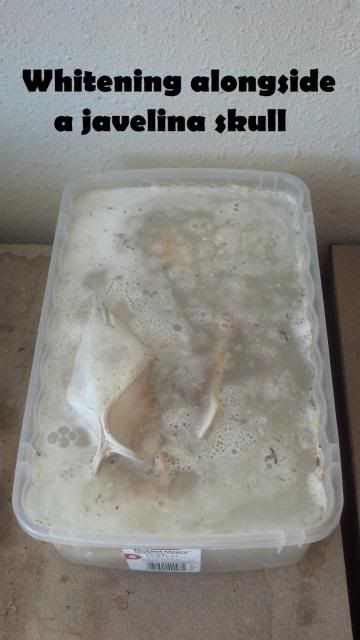
The skulls go into a tub with about 75% peroxide and 25% water, and how long they stay in depends on the color of the skull and what kind of 'look' is desired after the whitening process is complete - the bubbles mean it's working!
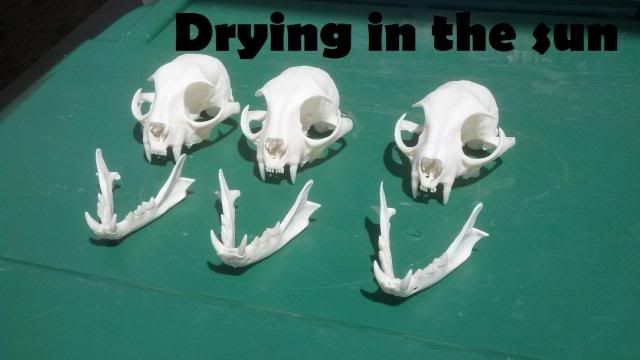
After 5 days in the peroxide the bobcats are removed - here they are drying in the sun, which I like to do for 2-3 days before considering them "complete", as it gets rid of any smell and makes sure that everything it nice and dry:
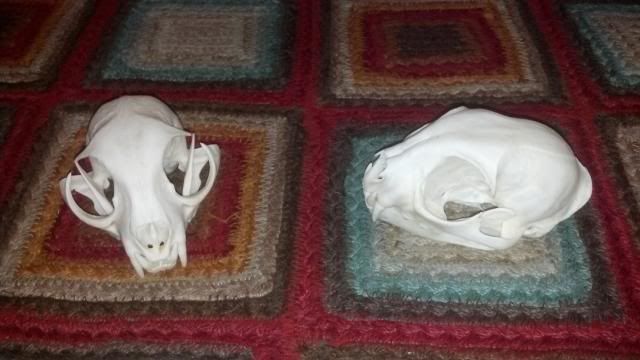
A few quick hits with the air hose to make sure that any dead beetles are removed from tight spaces and
Voila! - the skulls are ready for display:
Happy Hunting!


